Add your venues
Save the places you cater at once, then reuse them instead of retyping the address every time.
Last updated May 25, 2026
Add a venue
Every place you cater at — a wedding hall, a corporate office, a park pavilion — can be saved as a venue so you only enter the details once.
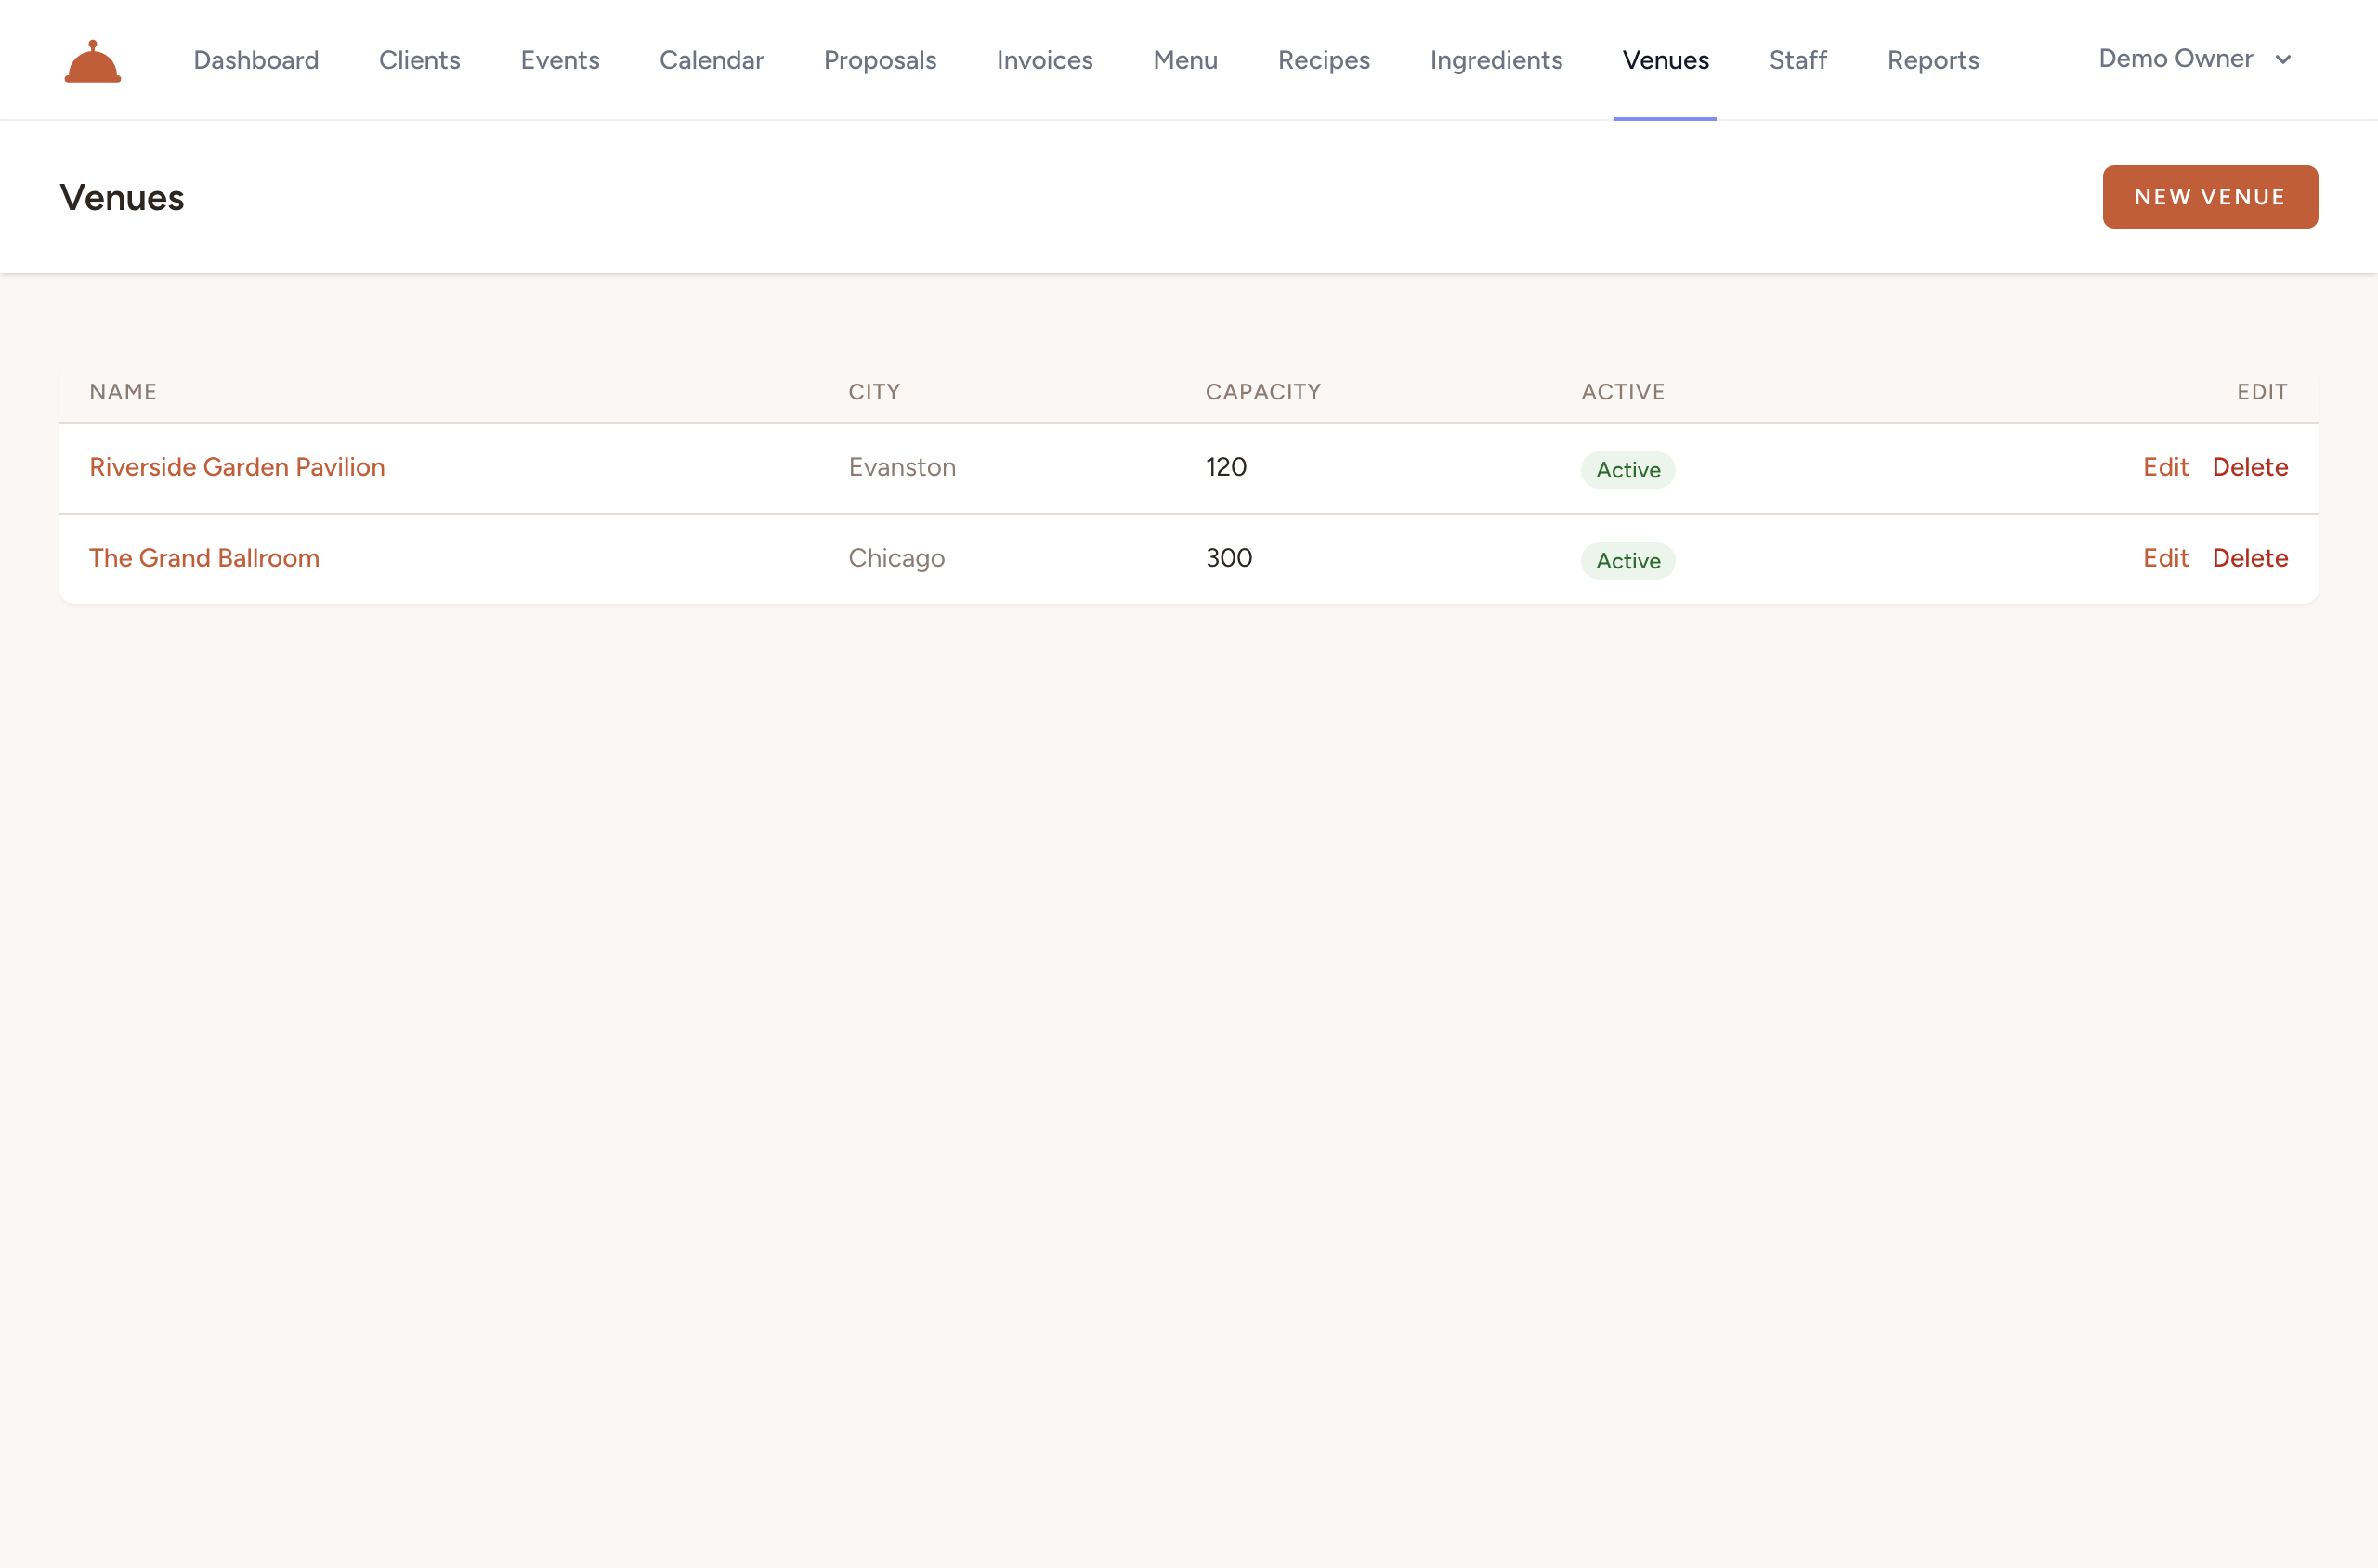
- Open Venues from your dashboard.
- Click New venue.

- Fill in the details:
- Name — a short label you'll recognize, like Riverside Pavilion or City Hall Ballroom.
- Address — street address (line 1 is required; line 2 is optional), city, state/region, postal code, and country.
- Capacity — the maximum number of guests the space holds (optional, for your reference).
- Venue contact — name, email, and phone for the on-site coordinator (all optional).
- Notes — any details worth remembering: parking instructions, loading dock hours, setup restrictions.
- Leave Active checked so the venue appears when you're booking events.
- Click Save.
To update a venue later, find it on the Venues list and click Edit. To remove one you no longer use, click Delete — the venue is soft-deleted and will no longer appear in your active list.
Use a venue on an event
When you book a new event, the event form includes a Venue dropdown. Pick the venue you saved and its details travel with the event automatically — no retyping required. Venue is optional, so you can leave it blank if the location isn't fixed yet.
What's next?
- Book an event and assign staff to put your venues to work.
- Build your menu so your events have dishes to draw from.